In this post we will see How to Issue a SAN Certificate to Exchange Server 2010 from a Private Certificate Authority. We know that Exchange server 2010 makes use of SSL certificates in order to secure network communications between the servers and clients. When you install Exchange Server 2010, SSL is required for many services both internally and externally. The Client Access Server role has SSL enforced for services like Outlook Web App, Active Sync, Outlook anywhere etc. You can disable the SSL but why would one do that and allow communications over insecure HTTP connections.
When you install Exchange server 2010, a self-signed SSL certificate is also installed by default. This self-signed certificate will not be not be trusted by clients or any devices because its a self-signed cert. The SSL certificates for Exchange server can be purchased from popular Certificate Authorities like Verisign, Digicert, Comodo etc.
Note :- The SAN cert that we are going to issue to our exchange server(EXCHANGE.PRAJWAL.LOCAL) is a part of PRAJWAL.LOCAL Organization. The Certificate Authority role has been installed on the machine where AD DS is installed(Domain Controller). You can save your money by assigning certificate from a private Certification Authority for lab purpose.
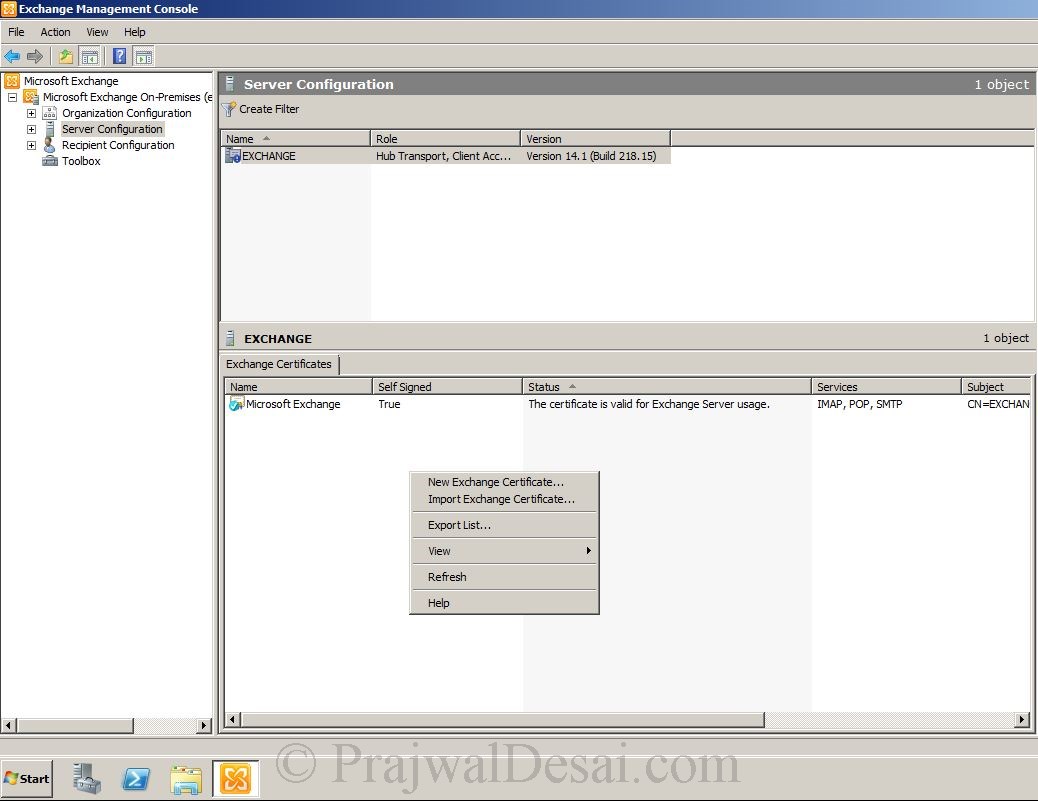
Firstly we will see how to generate new exchange 2010 certificate. Click on Start, All Programs, Microsoft Exchange Server 2010, Exchange Management Console. Click on Server Configuration, under Exchange Certificates right on the white space and select New Exchange Certificate.
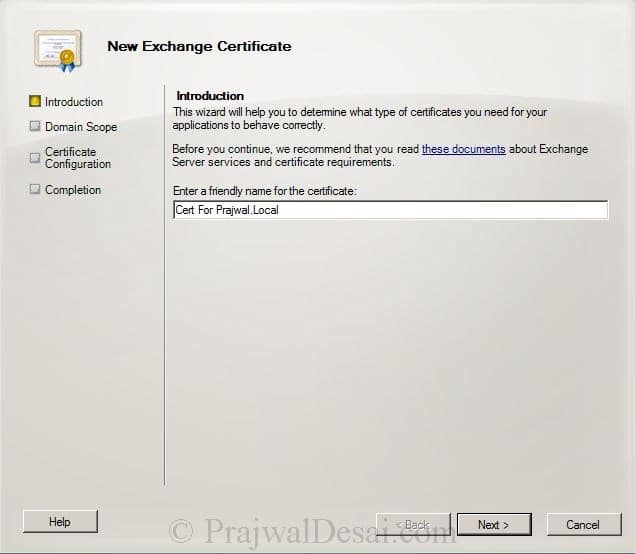
Provide a friendly name for the certificate. Click Next.
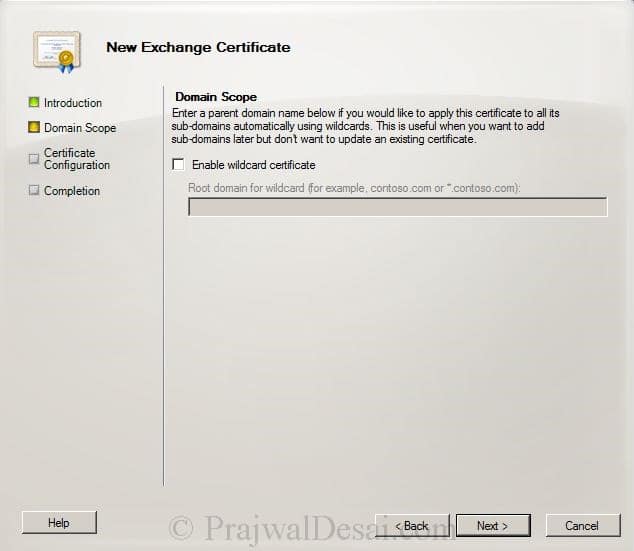
Exchange server 2010 supports wildcard certificate, but in this example we will use SAN Cert. Click Next.
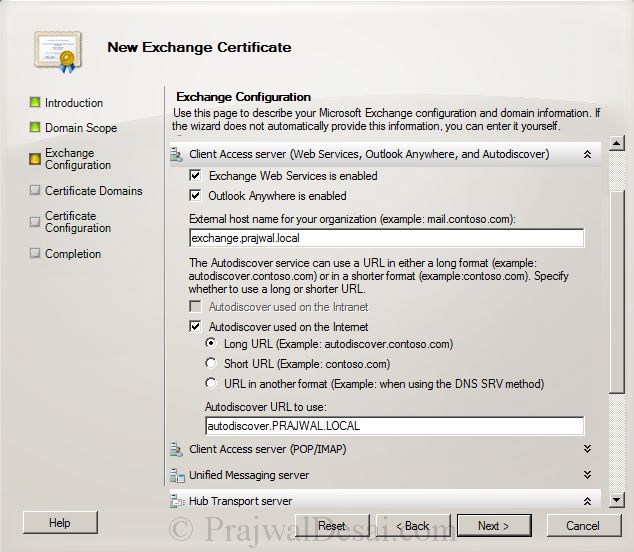
We will configure the services one by one. For Outlook WebApp Service– provide the internal and external names. For Exchange Active Sync Service – Provide the domain name as exchange.prajwal.local. Scroll the right bar down.
Provide the external host name for your organization, in my case its exchange.prajwal.local.
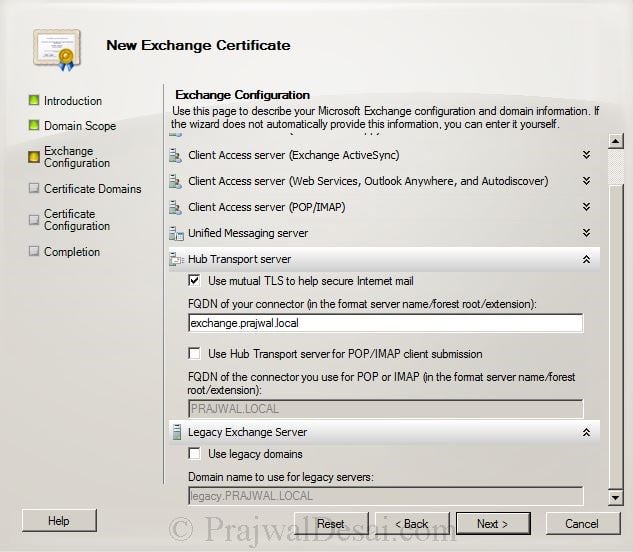
Under Hub Transport Server, Check the box “use mutual TLS to help secure internet mail“, set the FQDN of connector to exchange.prajwal.local. Click Next.
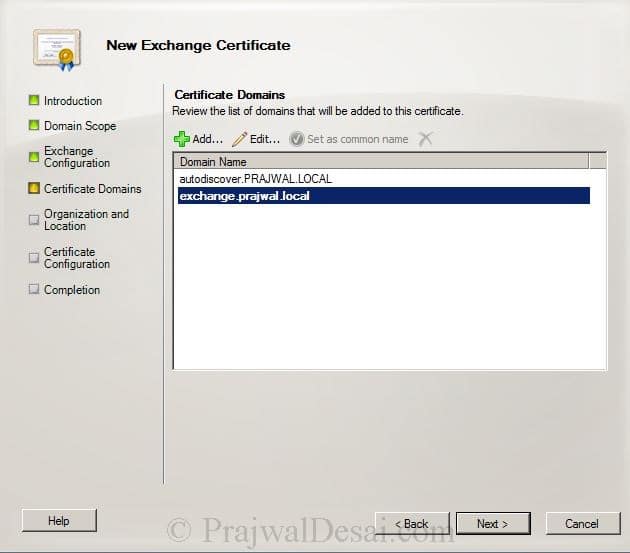
In the Certificate Domains we see 2 entries, autodiscover.prajwal.local and exchange.prajwal.local. Click Next.
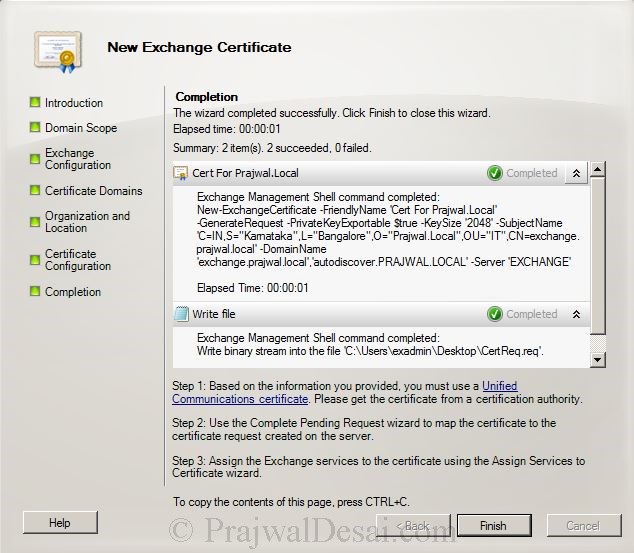
Fill out all the details which will be included in the cert. At the end click on Browse and save the certificate request file. The request file is saved with .req and can be viewed using Notepad application. Click Next.
Click Finish to close the Exchange cert wizard.
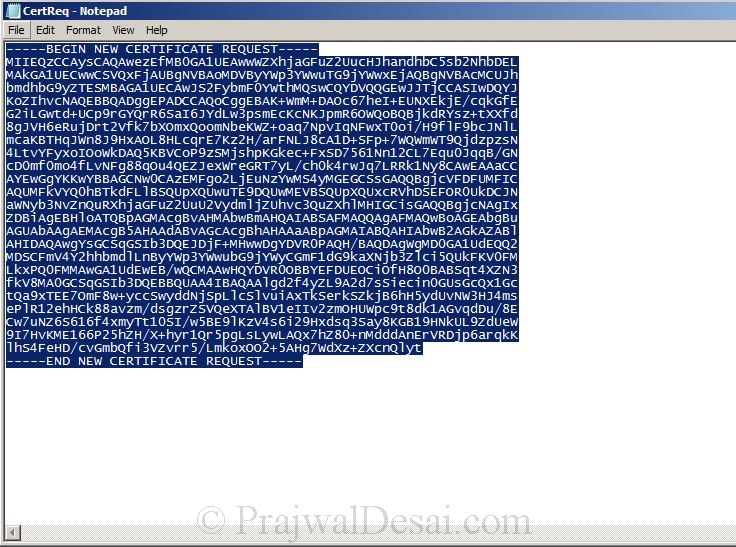
Open the .req file with Notepad. Select all the data and copy it.
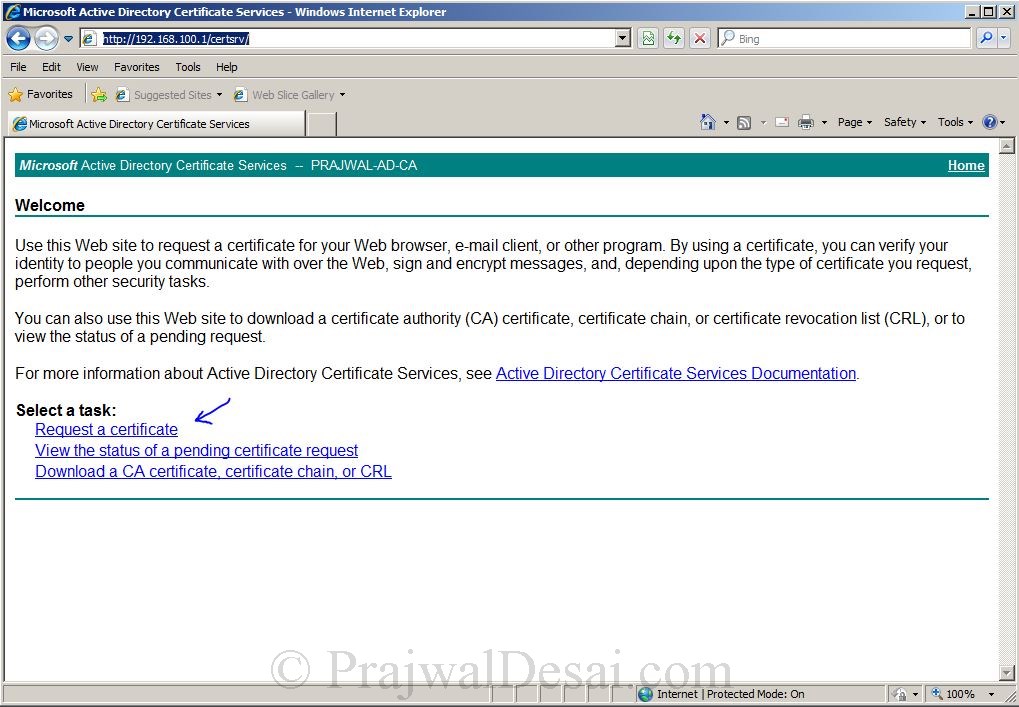
On the exchange server, open the internet explorer, type the URL http://CertificateAuthorityServername/Certsrv. In my case the CA is 192.168.100.1 so the URL will be http://192.168.100.1/certsrv.Enter the credentials and click OK.
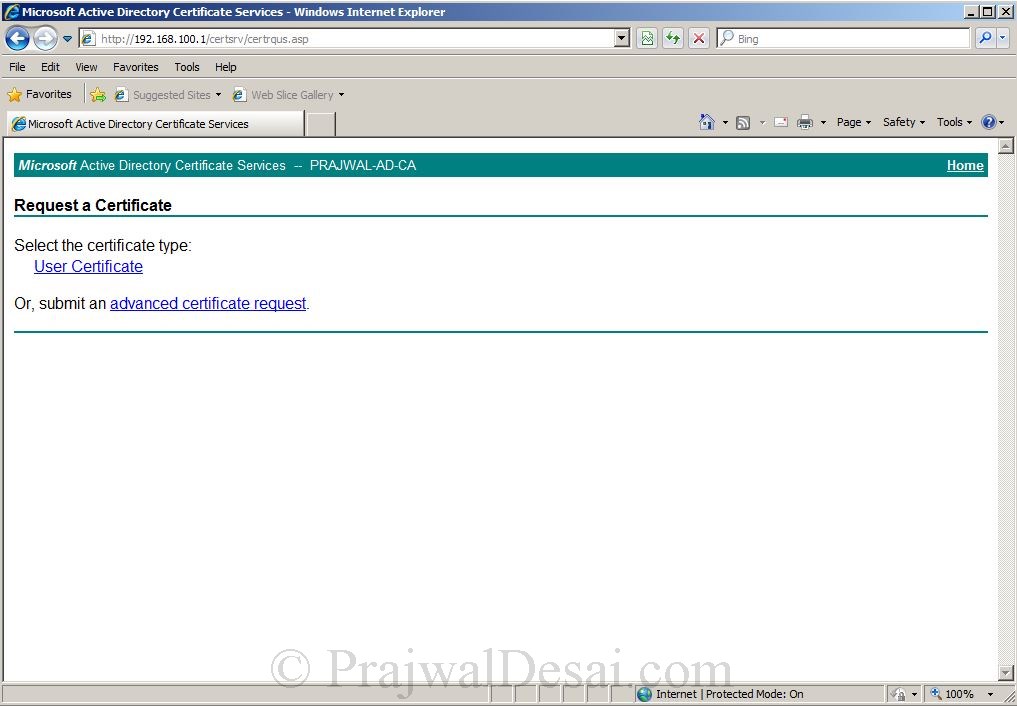
Click on Request a Certificate.
Select Submit an advanced certificate request.
Since we have already copied the data from .req file, click on second link – Submit a certificate request by using a base-64-encoded CMC or PKCS #10 file.
Paste the content copied from .req file in the saved request box, Choose Web Server as Certificate Template. click Submit.
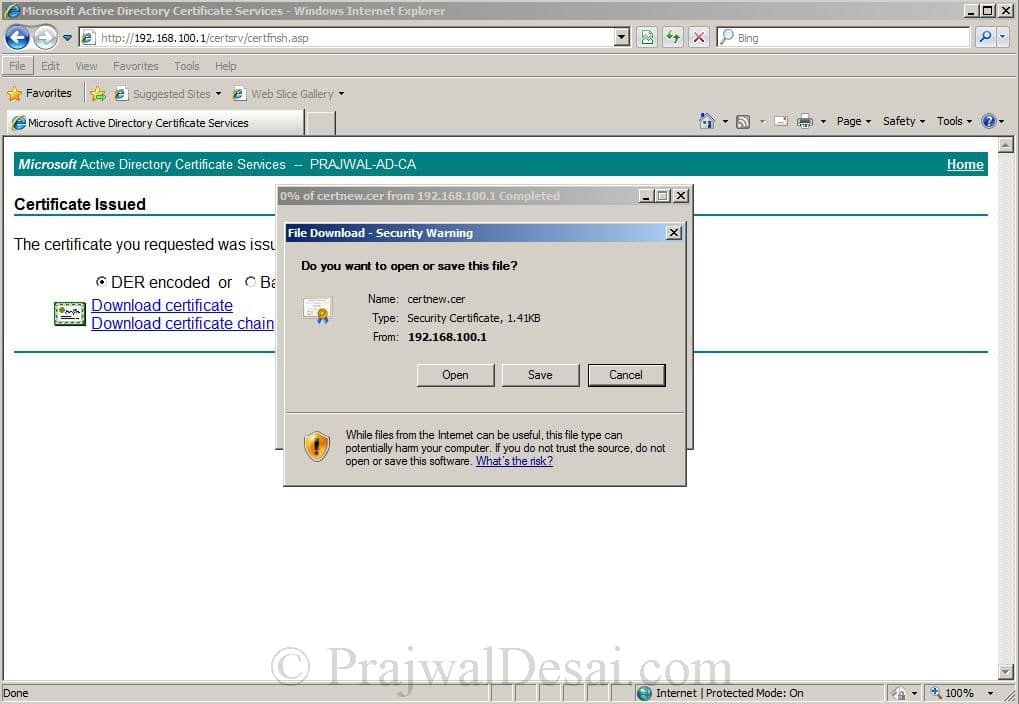
Save the file to a location on your computer.
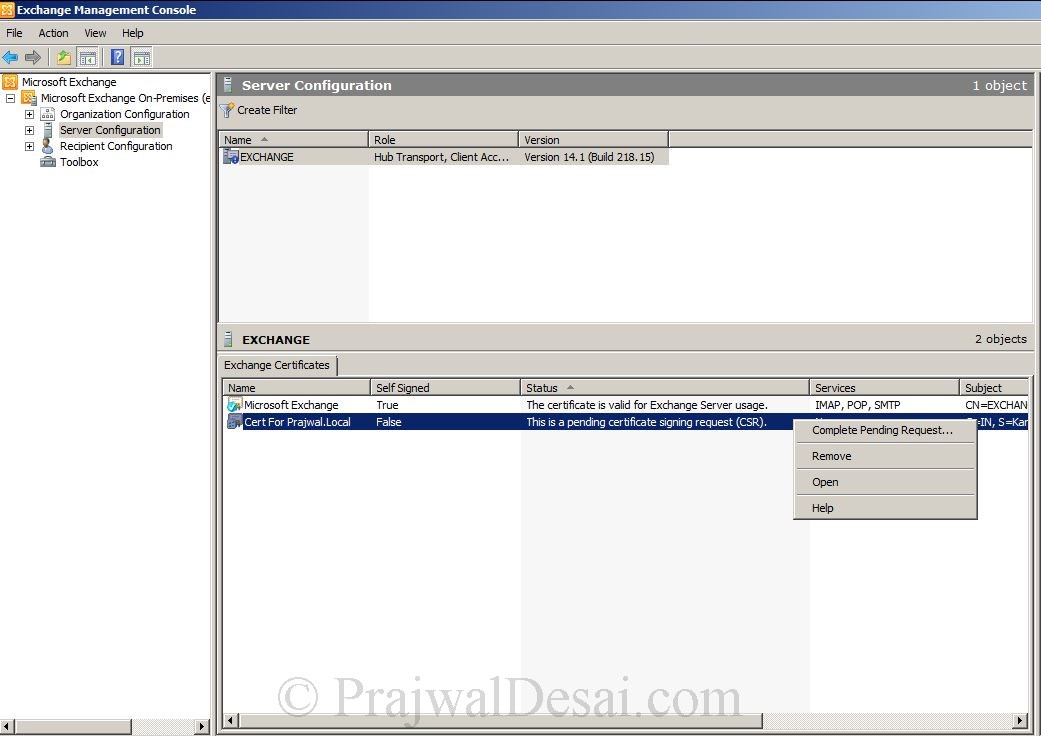
On the Exchange Management Console, right the Certificate (remember the friendly name of cert)and click Complete Pending Request.
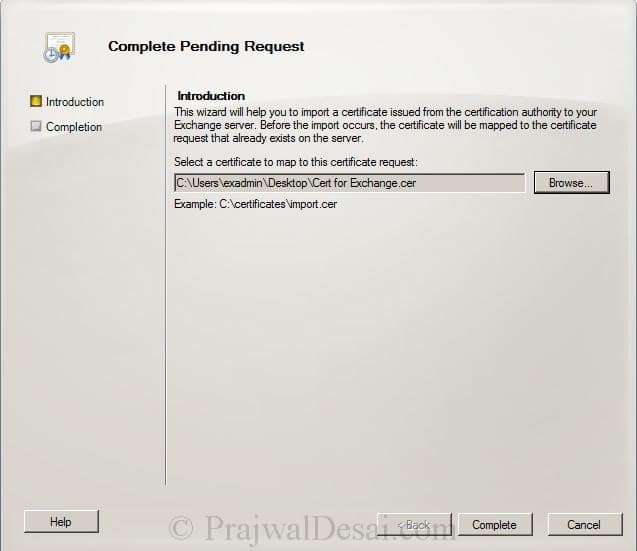
Click Browse and select the Cert file (file with .cer extension) that was provided by CA. Click Complete.
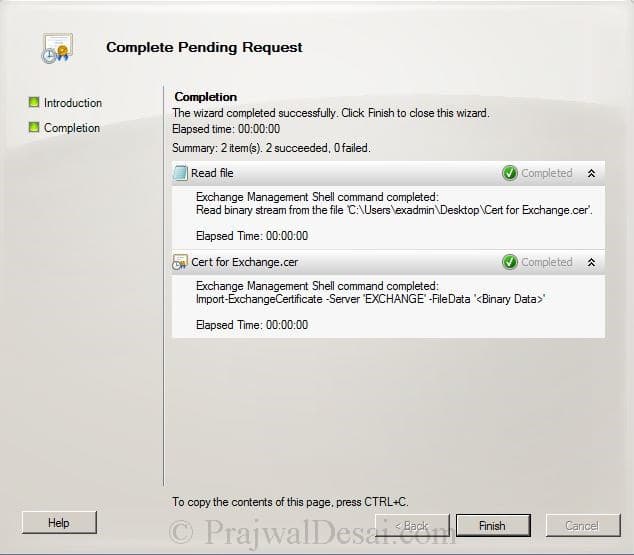
Click Finish to complete pending request.
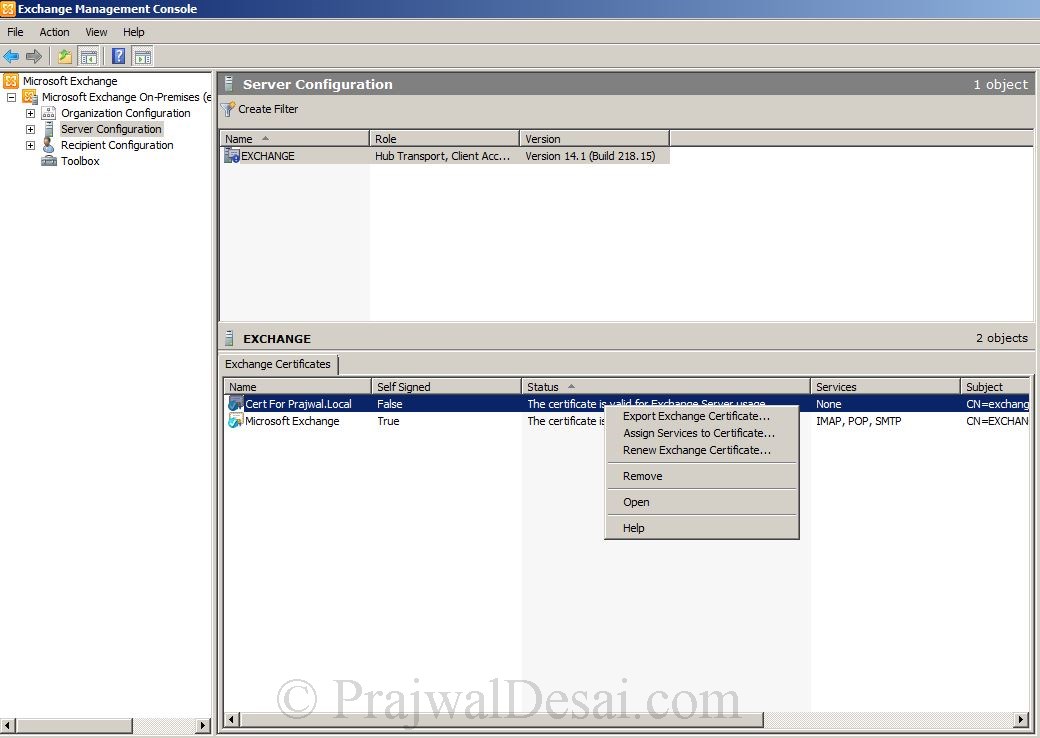
Right on the Exchange Certificate and click Assign Services to Certificate.
On the Assign Services to Certificate page, Select the Exchange server and click Next.
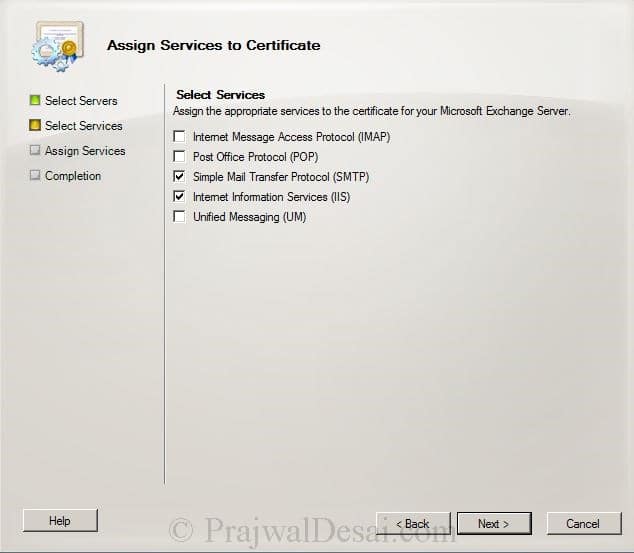
Select Internet Information Services, Simple Mail Transfer Protocol. Click Next.
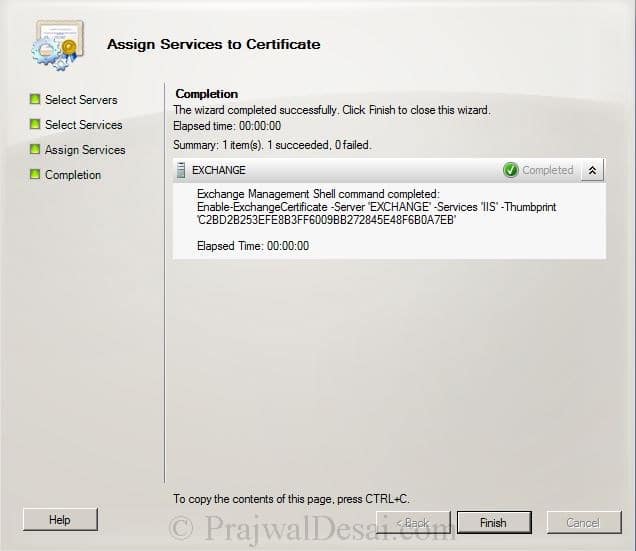
click Assign on the next page and click Finish to complete the wizard.
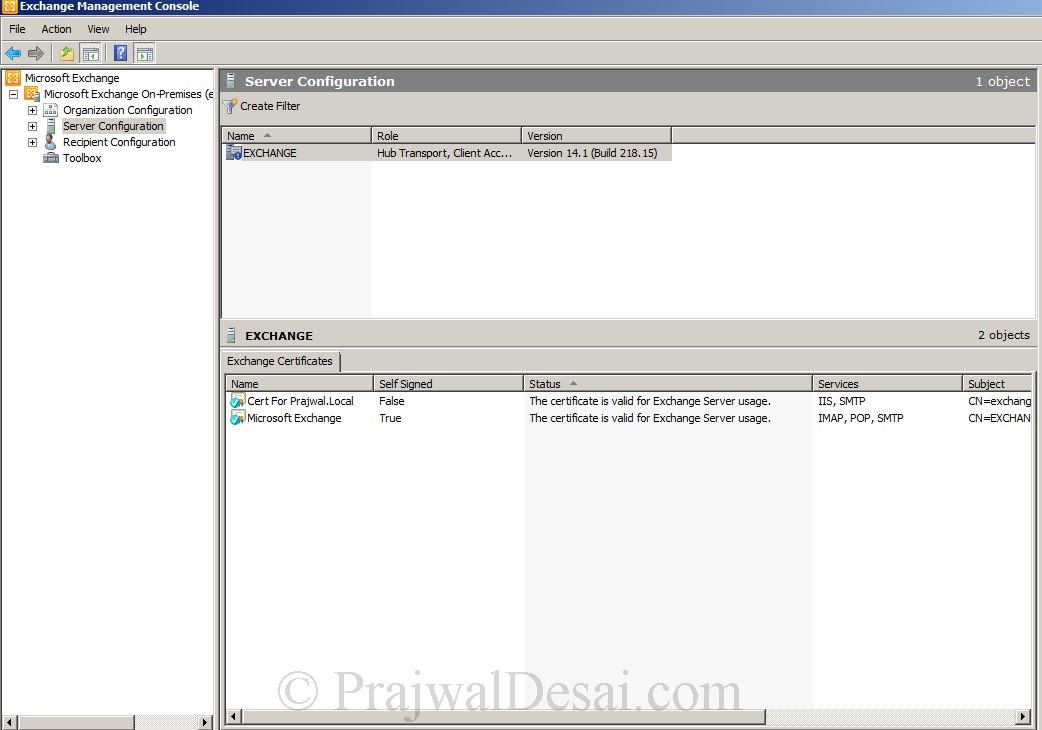
We see that we have successfully assigned the certificate to Exchange services, the certificate is not a self signed by generated by internal Certificate Authority.

