


Step by Step Installation Of Lync Server 2013 Standard Edition Part 3 – Installing Lync Server 2013
In this post we will see the installation of Lync Server 2013. We will be installing the Lync Server 2013 on the Front End Server (FE.PRAJWAL.LOCAL). Perform the below steps using the user account LyncAdmin.
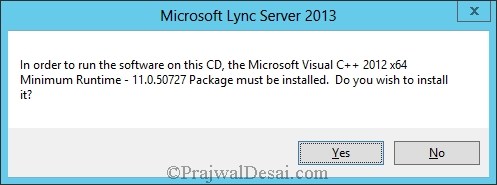
Run the Setup.exe from the Lync Server 2013 installation DVD. Click Yes to install the Microsoft Visual C++ 2012 64 bit.

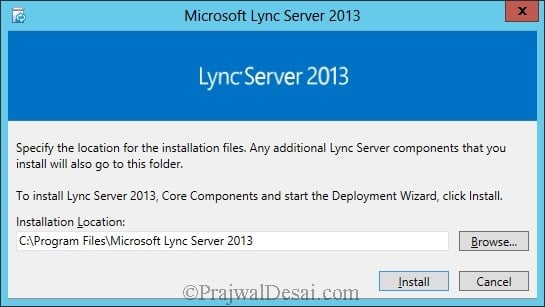
On the next screen Click Install to install the Lync Server 2013.
Click I accept the terms in the license agreement.
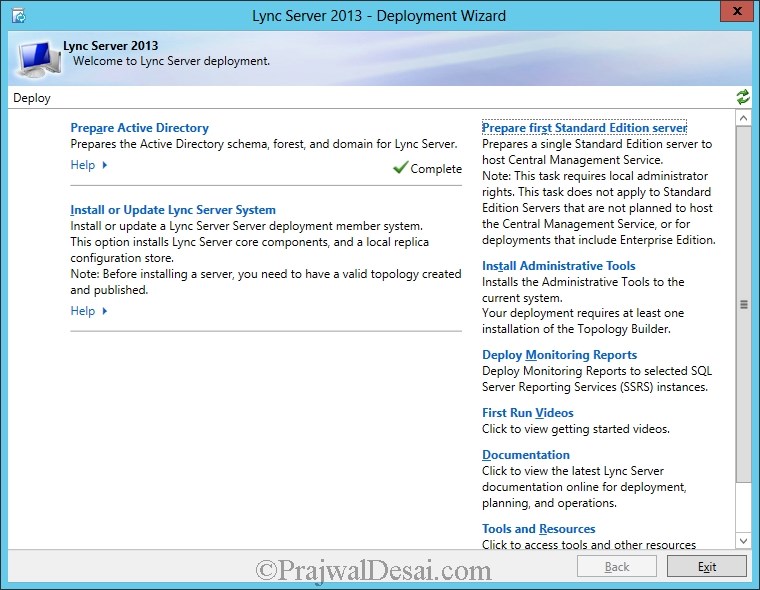
After the setup we see the Lync Server 2013 Deployment Wizard.
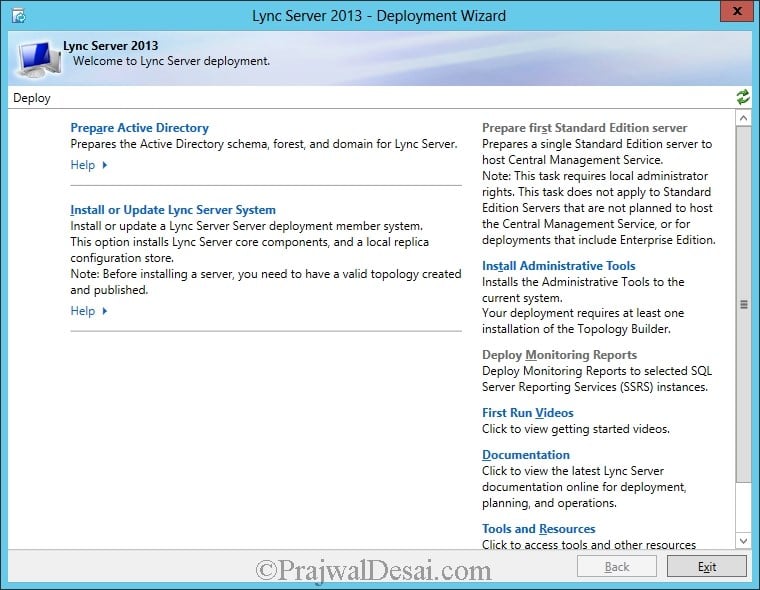
The first step that we will perform here is “Prepare Active Directory“. Click on Prepare Active Directory.

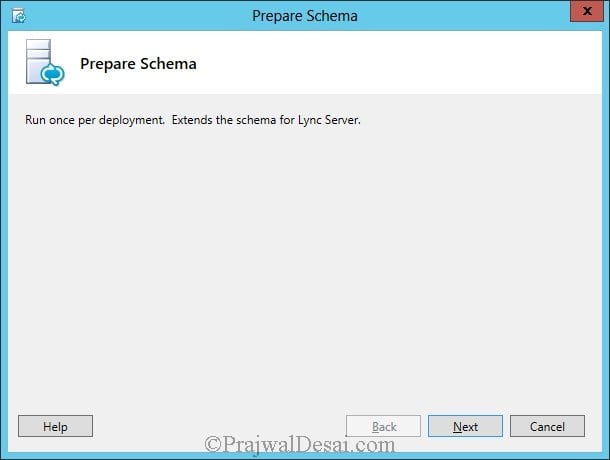
Step 1 – Prepare Schema: Extends the Active Directory schema by adding new classes and attributes that are used by Lync Server. Prepare Schema must be run once in a forest where Lync Server is deployed.
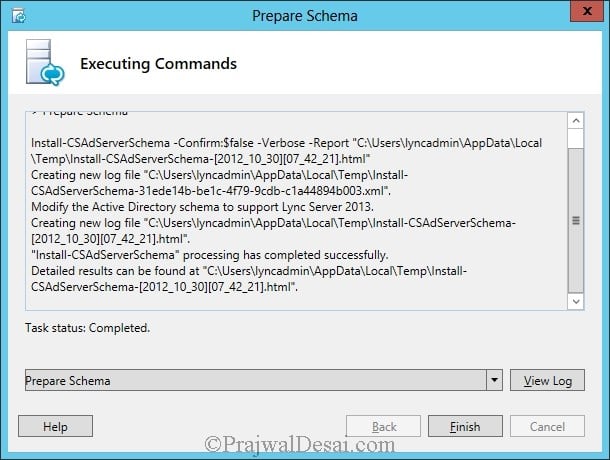
Run the Prepare Schema.
Click Finish to Complete the Prepare Schema Step
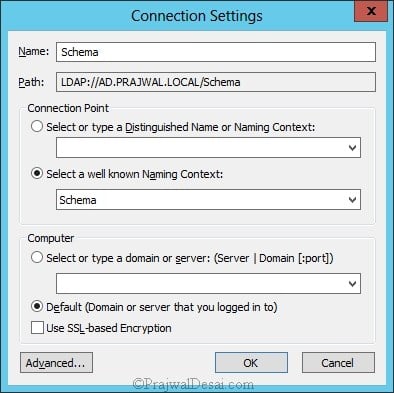
Step 2 – Verify Replication Of Schema Partition: To manually verify that the schema partition has been replicated, Log on to Domain controller, Click Start, Administrative Tools, Open ADSI Edit. Right click ADSI Edit and click Connect to. Select a well known Naming Context as Schema.
Double Click Schema, Expand it and Under Schema container Search for CN=ms-RTC-SIP-SchemaVersion.
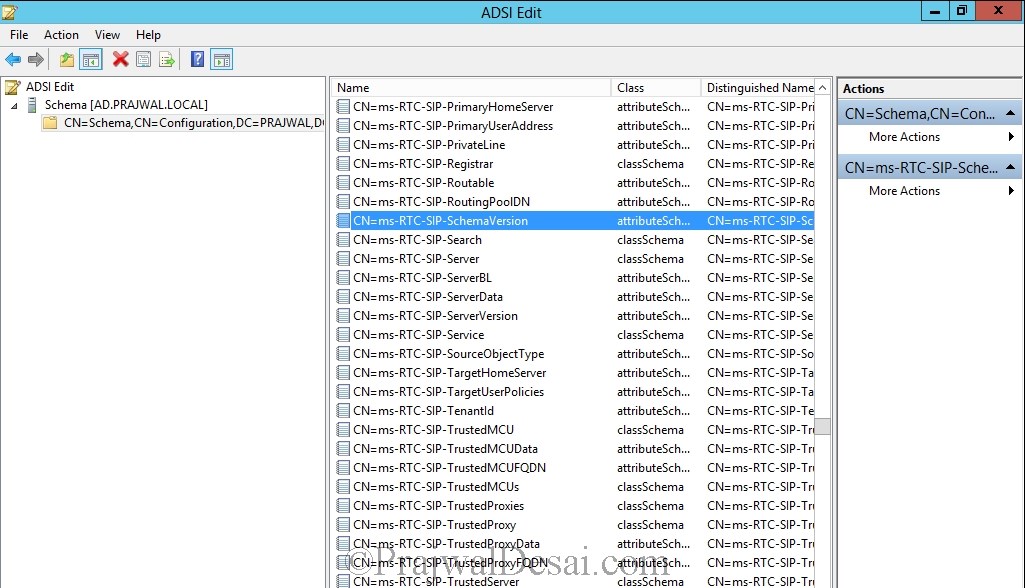
Double click CN=ms-RTC-SIP-SchemaVersion and verify if value of the rangeUpper attribute is 1150 and the value of the rangeLower attribute is 3. If you don’t find the rangeUpper and rangeLower attributes or if their values are not as specified, then the schema is not modified or has not replicated.

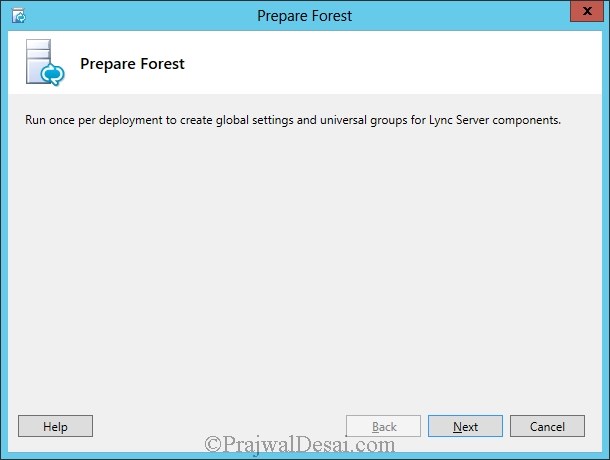
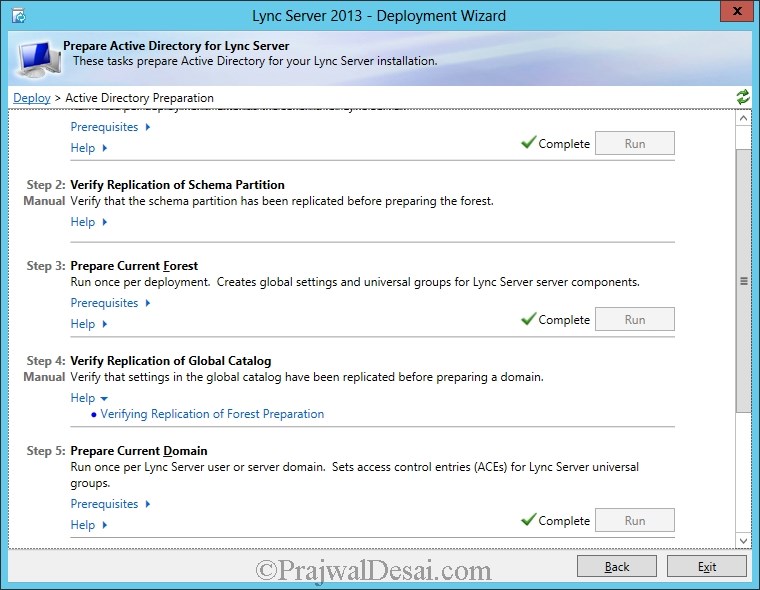
Step 3 – Prepare Current Forest: This step creates global settings and universal groups that are used by Lync Server. This step must be run once in a forest where Lync server is deployed.
Run the Prepare Current Forest. Click Next.
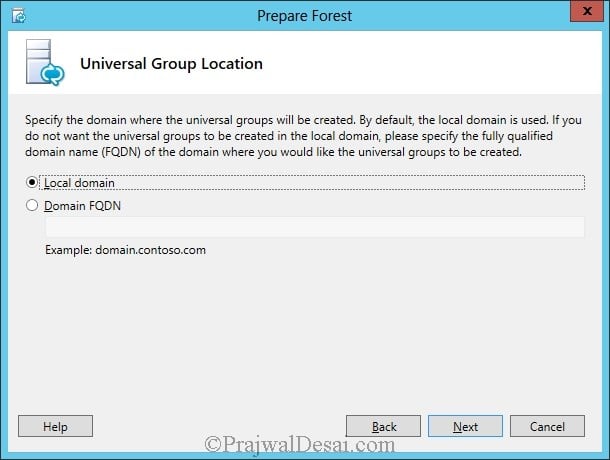
Select Local Domain and click Next.
The Prepare Forest Step has been completed. Click Finish.

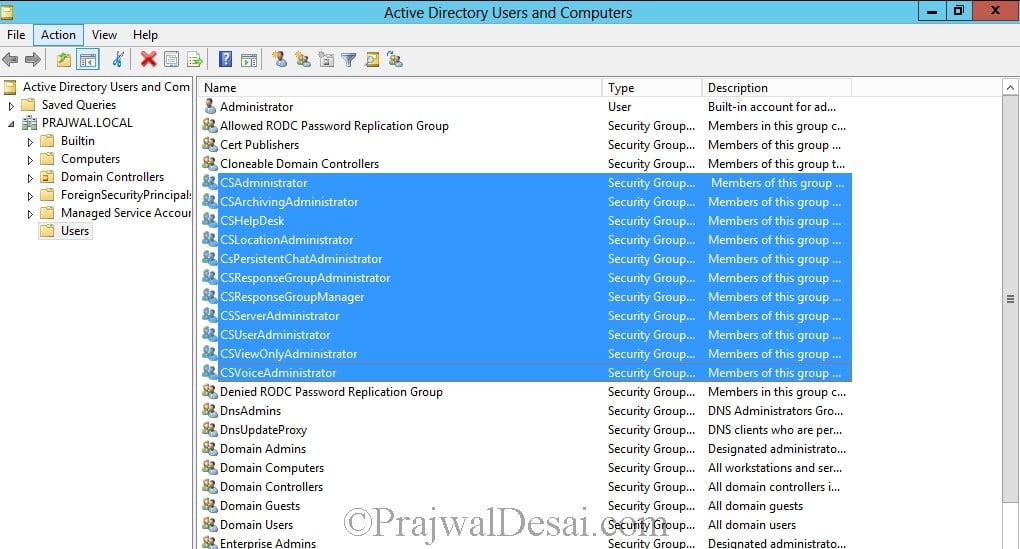
Step 4 – Verify Replication of Global Catalog: To confirm that the replication of the Global Catalog and the creation of objects during Forest Preparation have been successful, open Active Directory Users And Computers, under users you should find CSAdministrator Group along with 8 new groups with names that begin with CS. If you find these groups in the console then the Replication of Global Catalog is successful.
Step 5 – Prepare the Current Domain: This step adds permissions on objects to be used by members of universal groups. It should be run once per user domain or server domain.
Run the Prepare Current domain and click finish to close the wizard.
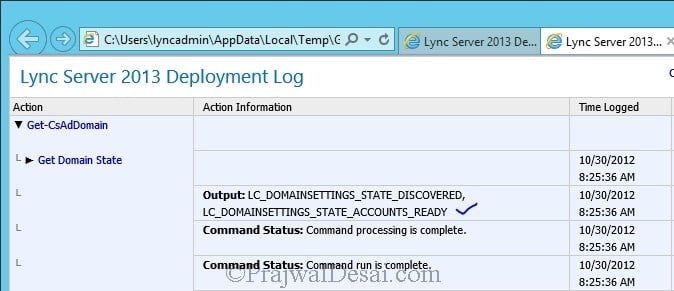
Step 6 – Verify Replication in the Domain: To verify the replication in the domain, click start, open Lync Server Management Shell
Type the command : Get-CsAdDomain [-Domain <Fqdn>] [-DomainController <Fqdn>] [-GlobalCatalog <Fqdn>] [-GlobalSettingsDomainController <Fqdn>]
In Our case we will type : Get-CsAdDomain -Domain prajwal.local -DomainController ad.prajwal.local -GlobalCatalog ad.prajwal.local
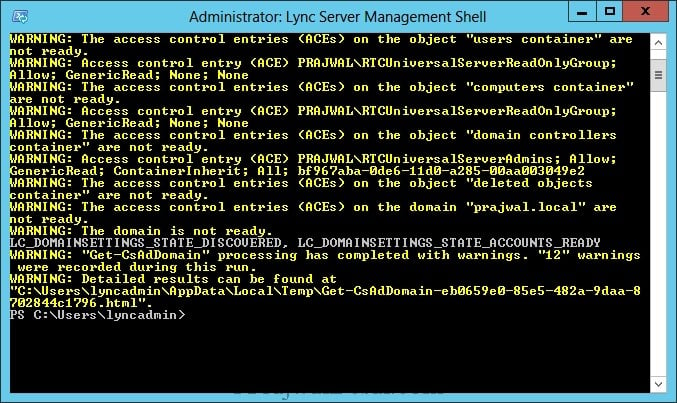
We will open the file which is created here “C:UserslyncadminAppDataLocalTempGet-CsAdDomain-eb0659e0-85e5-482a-9daa-8702844c1796.html”. Open the HTML file and check for the value LC_DOMAIN_SETTINGS_STATE_READY. If you find this value then the domain preparation has been successful. In the below screenshot we find the value LC_DOMAIN_SETTINGS_STATE_READY, which means the domain preparation is successful.
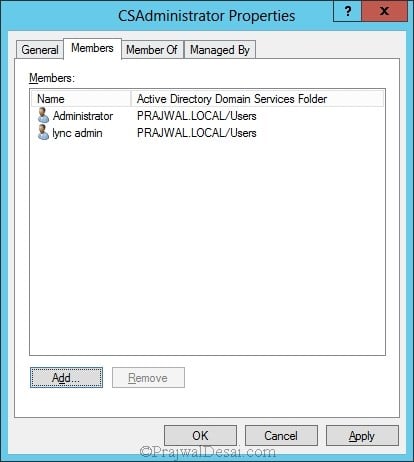
Step 7 – Add users to provide administrative access to Lync control panel: Access to Lync Control Panel is controlled by group membership in a universal group called CSAdministrator. We will add user account Lyncadmin and administrator to CSAdministrator Group.
Click on start, Click Administrative tools, Open Active Directory Users and Computers, Under Users look for group named CSAdministrator. Double click the group, select Member of and add Administrator and LyncAdmin to CSAdministrator group. Click Apply and OK.
At last in your Deployment Wizard window you must find the status as Complete with a green check mark for all the preparation steps. Do not exit the wizard, Click Back.
Now we will proceed with the second step. Click on Prepare first Standard Edition Server. This will prepare a single Standard Edition Server to host the Central Management Store.

Click Next.

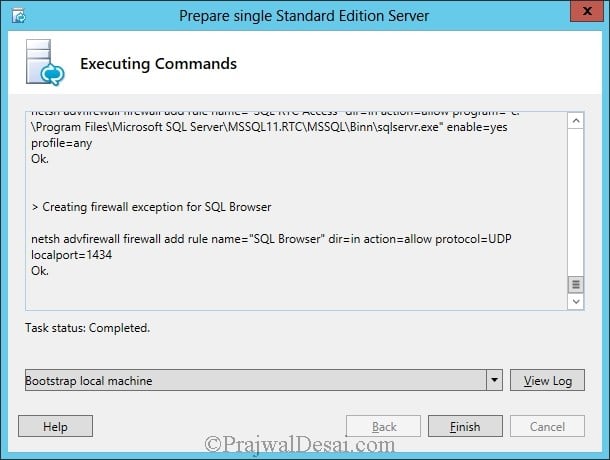
During this step, in the background SQL Server 2008 Express Edition is installed, RTC Databases are created and populated.
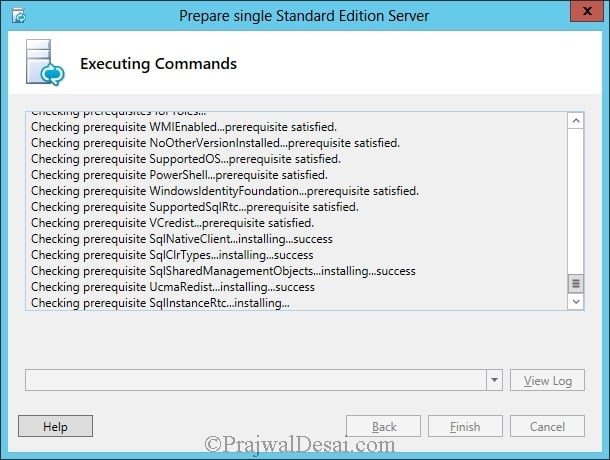
Click finish to complete the prepare single Standard edition server step.
After Preparing the Standard Edition Server, We will now install Administrative tools. This will install the Administrative Tools that will used in deploying Lync Server. Click on Install
Administrative Tools.
The Administrative Tools have been Installed.

Configure DNS Records
Lync Server supports three simple URLs: Meet, Dial-In, and Admin. You are required to set up simple URLs for Meet and Dial-In, and the Admin simple URL is optional. Perform this as domain administrator on Domain controller. Click Start, click Administrative Tools, launch DNS Manager. Right Click the domain and Select Other New Records.
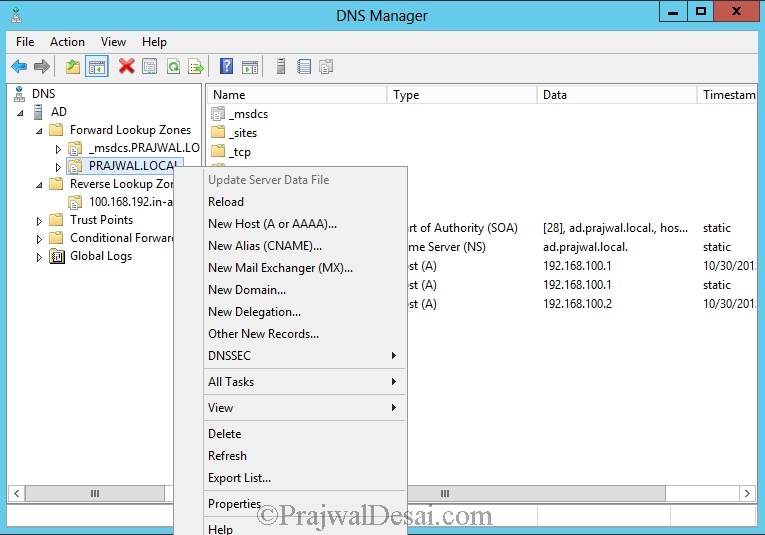
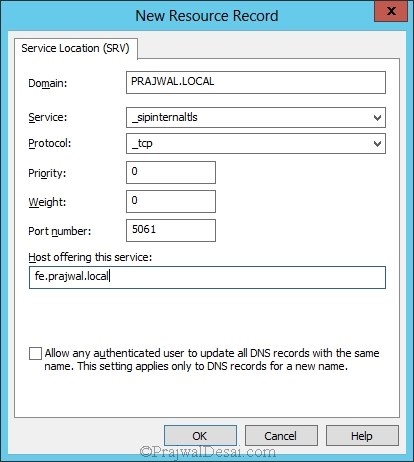
Select Service Location (SRV) and Click Create Record. The SRV record will point to our Lync Front End Server.
Set the following Values:
Service = _sipinternaltls
Protocol = _tcp
Port Number = 5061
Host offering his service = fe.prajwal.local.
We will create 3 Host Records called meet, dialin and admin in our DNS server. Right Click domain, click New Host (A or AAAA).

Provide the name as meet, IP address = 192.168.100.2 click Add Host. Repeat the same for admin and dialin.

We have created 3 host records and 1 SRV record. This completes the DNS configuration for Lync Server.

Dear sir
While deploying lync server on server 2012 r2 in prepare single Standard edition server i got error caching failed then what i do please let me know,
Rerun (As admin) the lync 2013 set up file (.exe file) >Then open deployment wizard (as admin) > then run prepare first SE server. Also make sure you are local admin on that server
Hi Prajwal,
I am using Lync 2013 and SQL 2012 from 6 months working fine and last week sql server corrupted then I re-install sql and try to attach all tables.
1. when i try to attach rtcxds.mdf, its showing error msg ‘Microsoft SQL Server Management Studio :An error occurred when attaching the database(s). Click the hyperlink in the Message column for details.
2. when i try to login FE unable to login error unauthorised: authorization failed, but correct its correct login
pls try to help me out asap
-Srinivas
Hi, you need to open error log file and see what is the error message. The log file will be usually found in C:UsersusernameAppDataLocalTempInstall-CSAdServerSchema-[YYYY_MM_DD][Time].html
Command: ldifde.exe -i -v -k -j “C:Usersadministrator.MTLEXPLABAppDataLocalTemp2” -f “C:Program FilesSkype for Business Server 2015DeploymentSetupExternalSchema.ldf” -c DC=X “DC=mtlexplab,DC=com” -s EXPWINS01.abc.com 3/9/2015 2:31:00
└ Command: ldifde.exe -i -v -k -j “C:Usersadministrator.MTLEXPLABAppDataLocalTemp2” -f “C:Program FilesSkype for Business Server 2015DeploymentSetupServerSchema.ldf” -c DC=X “DC=mtlexplab,DC=com” -s EXPWINS01.abc.com 3/9/2015 2:31:10
└ TaskFailed: Task execution failed. 3/9/2015 2:31:12 Error
└ Error: Upload C:Program FilesSkype for Business Server 2015DeploymentSetupServerSchema.ldf failed. The exit code is “8245”.
▼ Details
└ Type: DeploymentException
└ ▼ Stack Trace
└ at Microsoft.Rtc.Management.Deployment.LcSchema.ThrowLDIFDE_ErrorCodeDeploymentException(String path, Int32 exitCode)
at Microsoft.Rtc.Management.Deployment.LcSchema.UploadSchema(String path)
at Microsoft.Rtc.Management.Deployment.LcSchema.PrepareSchema(String ldf, SchemaType schemaType)
at Microsoft.Rtc.Management.Deployment.Tasks.ServerSchemaPrepareTask.Action()
(How can I fix the error 8245, when press the PrepareAD on Lync 2013 / SFB 2015 ?)
Error: Upload C:Program FilesSkype for Business Server 2015DeploymentSetupServerSchema.ldf failed. The exit code is “8245”.
Hi Mr.Prajwal,
I am installing lync server 2013, after installing when I am going for prepare schema, i am getting the error
“ServerSchemaPrepareTask execution failed on an unrecoverable error.”
can you please help me out.
thanks
Hi Prajwal,
Where can i find the software for lync server 2013. what im getting is just office 2013 via those links. Do you know the path or file to download – instal & configure. Please advice
I found that I had to run the following on the Front End Server:
Add-WindowsFeature RSAT-ADDS, Web-Server, Web-Static-Content, Web-Default-Doc, Web-Http-Errors, Web-Asp-Net, Web-Net-Ext, Web-ISAPI-Ext, Web-ISAPI-Filter, Web-Http-Logging, Web-Log-Libraries, Web-Request-Monitor, Web-Http-Tracing, Web-Basic-Auth, Web-Windows-Auth, Web-Client-Auth, Web-Filtering, Web-Stat-Compression, Web-Dyn-Compression, NET-WCF-HTTP-Activation45, Web-Asp-Net45, Web-Mgmt-Tools, Web-Scripting-Tools, Web-Mgmt-Compat, Desktop-Experience, Windows-Identity-Foundation, Telnet-Client, BITS -Source D:\sources\sxs
Afterwards it worked. Still do not understand why it was missing the Windows Identity Foundations, even after 4x re-installing the complete server.
Thanks anyway, your pages where a big help.
Regards
Max
hi Prajwal,
I have not tried 5x in various ways and with various Step-by-step instructions to install Lync 2013 on a VM Machine and every time it fails at the Prepare single Standard Edition Server part
it says: Prerequisite not satisfied: Windows Identity Foundation is required. In the windows above I can see:”Checking prerequisite WindowsIdentityFoundation…missing”.
Where should Windows Identity Foundation, have been loaded? What can I do to prevent the issue?
Kind regards
Max Cloose
Its available here :- http://www.microsoft.com/en-us/download/details.aspx?id=17331
Which version of Server are you using, Windows 2008 R2 or Windows server 2012 ?
I try to installed it on DC… And after building topology and run again the Prepare Active Directory. The error says that I can install on Domain Controller.
Is there any way to install in on DC? Buying a new Server Hardware Platform is to expensive. I hope you can share some of your advices.
Thank you so much.
@dlysen – Microsoft doesn’t recommend installing LYNC on domain controller and more over its not supported method. Lync front end services should run on a different server and back end datasbase on a different server.
If you are deploying it in production environment then please don’t do it.
Hi Prajwal Desai
can you help us is there any way to installed lync client on Terminal Server 2012 R2 thanks in advance.
Thank you for the instructions but what about the steps to create the C:\share folder, sharing it and setting the permissions so the SQL Express databases are created properly?
Create a shared folder. Under sharing add group everyone and give read only permissions. Under Security add group everyone and give read only permissions.
Hi Prajwal Desai
can you help us what to do after finish the above installation/configuration…
Check the lync articles here – https://www.prajwaldesai.com/category/lync/
Hi Prajwal Desai
Thank you very much for giving this installation steps, its so much use full, by using your above steps i am able to finish the Lync Server
now i want to use this, how i can use this, you leave us in the half way, please help us to finish the continuation installation including client.
Please check the next articles here – https://www.prajwaldesai.com/category/lync/